
Sending your little one off on any journey, even a quick trip to the grocery store, comes with a big responsibility: keeping them safe. As parents, we constantly strive to make the best choices for our children, and that includes ensuring they're properly secured in the car. Moving from a harnessed car seat to a booster seat is a significant milestone, and getting the booster seat height just right is key to effective protection.
This guide will walk you through how to choose the right booster seat height, making sure your child is both comfortable and, most importantly, safe during every car ride. A properly fitted booster seat dramatically reduces the risk of injury in the event of a collision. We'll explore how to determine the correct height, what to look for in a booster seat, and how to know when it's time to transition to the next stage.
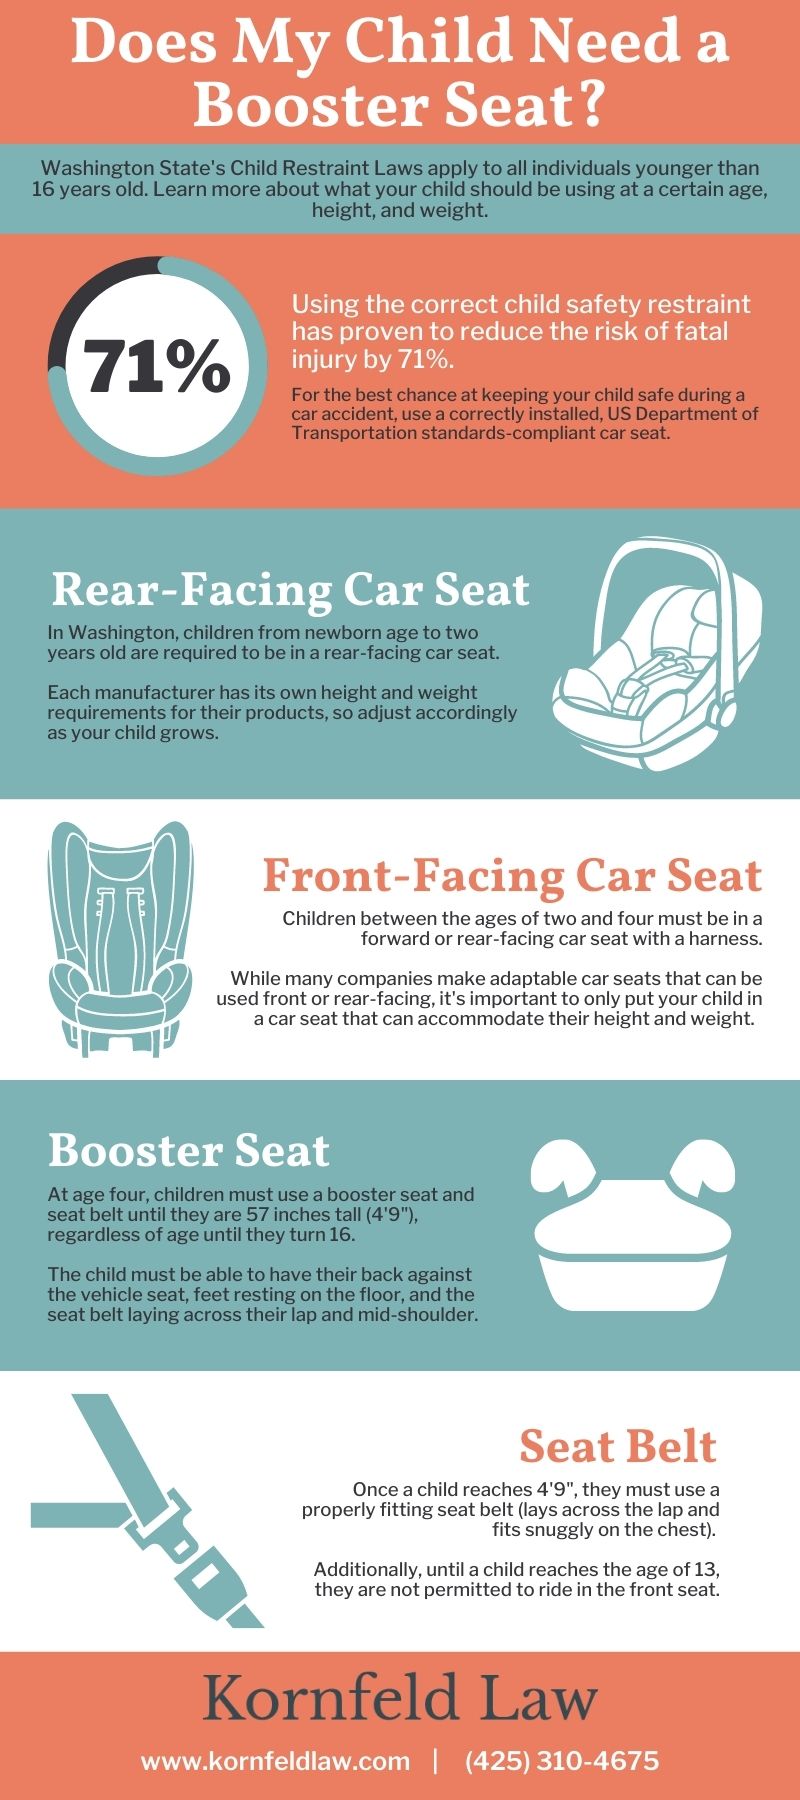
One simple habit you can adoptright nowis to always double-check the vehicle's seat belt fit on your child after they're buckled in. The lap belt should lie low and snug across their upper thighs, and the shoulder belt should cross the middle of their shoulder and chest. Never allow the shoulder belt to ride up near their face or neck, as this could cause serious injury in a crash.
Understanding Booster Seat Basics
Booster seats serve a crucial purpose: they elevate your child so that the vehicle's seat belt fits correctly. Adult seat belts are designed for adults, not small children. Without a booster, the seat belt can ride up too high on a child’s neck and abdomen, causing serious injuries in a crash. There are two main types of booster seats: High-back boosters:These offer head and neck support, which is especially important in vehicles with low seat backs or no headrests. They are often a good choice for younger children transitioning from harnessed car seats.
Backless boosters: These are more portable and can be a good option for older children who have outgrown high-back boosters but still need a little boost.
The core function remains the same: positioning the seatbelt safely. Understanding this fundamental goal is the first step in correctly choosing the right booster seat height.
Choosing the Right Booster Seat: Step-by-Step
Choosing the right booster seat height isn't about guesswork; it's about carefully observing how the seatbelt fits your child. Here’s a step-by-step approach:
1.Consult the Booster Seat Manual: Always start by reading the manufacturer’s instructions. These manuals provide specific height and weight limits for the booster seat. Never use a booster seat that your child has outgrown. Many parents keep these manuals in the car's glove compartment for quick reference, or even take a picture of the relevant pages and store it on their phones.
2.Position the Booster Seat: Place the booster seat on the vehicle seat, ensuring it is stable and secure. Some boosters have LATCH connectors that attach to the vehicle's lower anchors for added stability, though these are NOT intended to provide crash protection in the same way they do for forward-facing car seats with a harness. Check your vehicle's owner’s manual for compatibility information.
3.Have Your Child Sit in the Booster Seat: Ensure your child is sitting upright with their back against the vehicle seat. Make sure they are not slouching or leaning forward.
4.Buckle the Seat Belt: Have your child buckle the seat belt. It’s a good idea to practice this several times so they become comfortable and confident doing it themselves.
5.Assess the Seat Belt Fit: This is the most critical step! Check the following: Lap Belt:The lap belt should lie low and snug across your child’s upper thighs, not across their stomach.
Shoulder Belt: The shoulder belt should cross the middle of your child’s shoulder and chest, not their neck or face. Many high-back booster seats have adjustable shoulder belt guides to help you achieve the correct fit.
6.Adjust the Booster Seat (if possible): Some booster seats, particularly high-back models, have adjustable height settings. Use these adjustments to fine-tune the seat belt fit.
7.Perform the "Pinch Test": After buckling, try to pinch the seat belt webbing at your child's shoulder. If you can pinch excess webbing, the seat belt may not be snug enough. Ensure the belt is as snug as possible while still comfortable for your child.
8.Re-evaluate Regularly: Children grow quickly! Re-check the seat belt fit every few months to ensure the booster seat is still providing adequate positioning.
Factors Affecting Booster Seat Height
Several factors can influence the ideal booster seat height for your child: Child’s Height and Weight:Always adhere to the manufacturer’s recommended height and weight limits for the booster seat. These limits are designed to ensure the booster seat can provide adequate protection.
Vehicle Seat Configuration: The shape and height of the vehicle seat can affect how the booster seat positions your child. Some vehicle seats are more contoured than others, which can impact the seat belt fit.
Clothing: Bulky clothing, such as winter coats, can interfere with the seat belt fit. It’s best to remove bulky outerwear before buckling your child in.
Booster Seat Type: As mentioned earlier, high-back and backless boosters offer different levels of support and adjustment. Choose the type that best suits your child's needs and the vehicle's configuration.
How do I install a car seat securely?
Installing a car seat securely is paramount for child passenger safety. Whether it's a rear-facing car seat, a forward-facing seat, or a booster, the installation process has key elements. Here's a checklist: Read the Manuals: Begin by carefully reading both the car seat manual and your vehicle’s owner’s manual. These provide specific instructions for your particular car seat and vehicle. Choose the Right Location: Select the appropriate seating position in your vehicle. For younger children in rear-facing seats, the back seat is always the safest option. Use LATCH or Seat Belt: You can install the car seat using either the LATCH system (Lower Anchors and Tethers for Children) or the vehicle’s seat belt. Never use both simultaneously. Tighten Securely: Ensure the car seat is installed tightly. It should not move more than one inch in any direction when you tug on it near the belt path. Check the Angle: For rear-facing car seats, ensure the seat is reclined at the correct angle to prevent the child’s head from slumping forward. Most seats have built-in level indicators. Tether (for Forward-Facing Seats): If you are installing a forward-facing car seat, always use the top tether. This significantly reduces head movement in a crash. Professional Inspection:Consider having your car seat installation checked by a certified Child Passenger Safety Technician (CPST). They can ensure the seat is installed correctly and provide valuable guidance.
When should I switch to a booster?
Knowing when to switch to a booster seat is a crucial decision that impacts your child's safety. Here are the main considerations: Age, Weight, and Height Limits:Ensure your child has reached the minimum age, weight, and height requirements specified by the car seat manufacturer for using the booster seat. These limits are usually found on the car seat label and in the instruction manual. Don’t rush the process, as it’s generally safer to keep a child in a harnessed seat for as long as possible, provided they still fit within the seat's limits.
Maturity Level: Your child needs to be mature enough to sit properly in the booster seat for the entire ride. They should understand that they must not lean out of the seat or play with the seat belt.
Harness Fit: If your child has outgrown the height or weight limits of their forward-facing harnessed car seat, it’s likely time to switch to a booster.
Seat Belt Fit: As we’ve discussed, the primary purpose of a booster seat is to ensure the vehicle's seat belt fits correctly. If the seat belt fits properly without a booster (lap belt low and snug across the upper thighs, shoulder belt across the middle of the shoulder and chest), then your child may be ready to use the vehicle seat belt alone. However, this is rare before age 10 or 11.
What are some common mistakes when using booster seats?
Even with the best intentions, parents can sometimes make mistakes when using booster seats. Being aware of these common errors can help you avoid them: Switching Too Soon: One of the most frequent mistakes is moving a child to a booster seat before they are physically or emotionally ready. It's always safer to keep a child in a harnessed car seat for as long as possible. Improper Seat Belt Fit: Not checking the seat belt fit after buckling is a critical error. Ensure the lap belt is low and snug, and the shoulder belt crosses the middle of the shoulder and chest. Loose Installation: Even though booster seats don’t always require a tight installation like harnessed car seats, ensure the booster is stable on the vehicle seat. Use LATCH connectors, if available, to keep the booster in place when it's unoccupied. Forgetting the Backless Booster: Backless boosters are safe when used correctly, but they don’t provide any head or neck support. If your vehicle has low seat backs or no headrests, a high-back booster is a better choice. Allowing Slouching or Leaning: Ensure your child sits upright in the booster seat for the entire ride. Slouching or leaning forward can compromise the effectiveness of the seat belt. Ignoring the Manual: Always refer to the car seat manufacturer's instructions for proper use and installation. Using an Expired Seat:Car seats and booster seats have expiration dates. Check the label on your seat and replace it if it has expired. Plastic degrades over time, potentially compromising the seat’s integrity.
The Importance of Consistency
Consistency is key to child passenger safety. Always ensure your child is properly buckled into their booster seat, even for short trips. It’s easy to become complacent, especially when you’re in a hurry, but even a minor fender-bender can cause serious injuries if your child isn’t properly restrained.
Make buckling up a non-negotiable rule in your family. Explain to your child why it’s important and involve them in the process. The more they understand the importance of safety, the more likely they are to cooperate.
Also, be a good role model! Children learn by observing their parents. Always buckle your own seat belt and follow traffic laws.
Family road trip prep should always include a thorough check of car seat and booster seat installations.
Beyond the Basics: Advanced Tips
Travel Safety Kits: Consider creating a small travel safety kit to keep in your car. This could include a copy of the car seat manual, a first-aid kit, and emergency contact information. Practice Makes Perfect: Practice installing and adjusting the booster seat several times before using it with your child. This will help you become more familiar with the process and ensure you can do it quickly and efficiently. Stay Informed: Child passenger safety recommendations can change over time. Stay up-to-date on the latest best practices by consulting reputable sources, such as the National Highway Traffic Safety Administration (NHTSA) and the American Academy of Pediatrics (AAP). Used Car Seats: It’s generally not recommended to use a used car seat unless you know its history and can verify that it has not been involved in a crash. If you do use a used seat, carefully inspect it for any signs of damage or wear.
Choosing the right booster seat height is a vital part of keeping your child safe on the road. By following these guidelines and staying informed, you can ensure your little one is properly protected during every journey. Remember, child passenger safety is an ongoing process, and your dedication to doing it right makes all the difference. You've got this!
Post a Comment for "How to Choose the Right Booster Seat Height"